
DIY Pressed Flowers in Float Frame
I use to press flowers I found on walks and in our yard all the time as a kid, usually within the pages of whichever library book I was reading at the time. Flower pressing is such a simple technique (you probably already have everything you need for this project!) and a great way to make natural, affordable art. I've definitely noticed a rebirth of the craft lately, for wall art and home decor. While I don't press flowers often anymore, I'd been planning on pressing the wildflowers from the foothills — to create some sort of display in my apartment — for months. The wildflowers in the foothills of Boise wow me every spring, but they don't last long. What a perfect way to preserve their beauty all year long!

Although there are many ways you could potentially display pressed flowers, I was mainly inspired by this pin (from my crafty things board) of a floral display in a float frame. I chose to line my frame with craft paper, though, because my flowers kept slipping when I put the frame together, and to hide the hanging hardware on the back of the frame. I think it turned out better this way, though, with the color of my apartment walls. But, consider that step optional :)
Supplies Needed
1. flowers
2. a float frame (mine is this one)
3. wax paper
4. heavy books
5. craft paper (optional)
4. glue gun
Directions
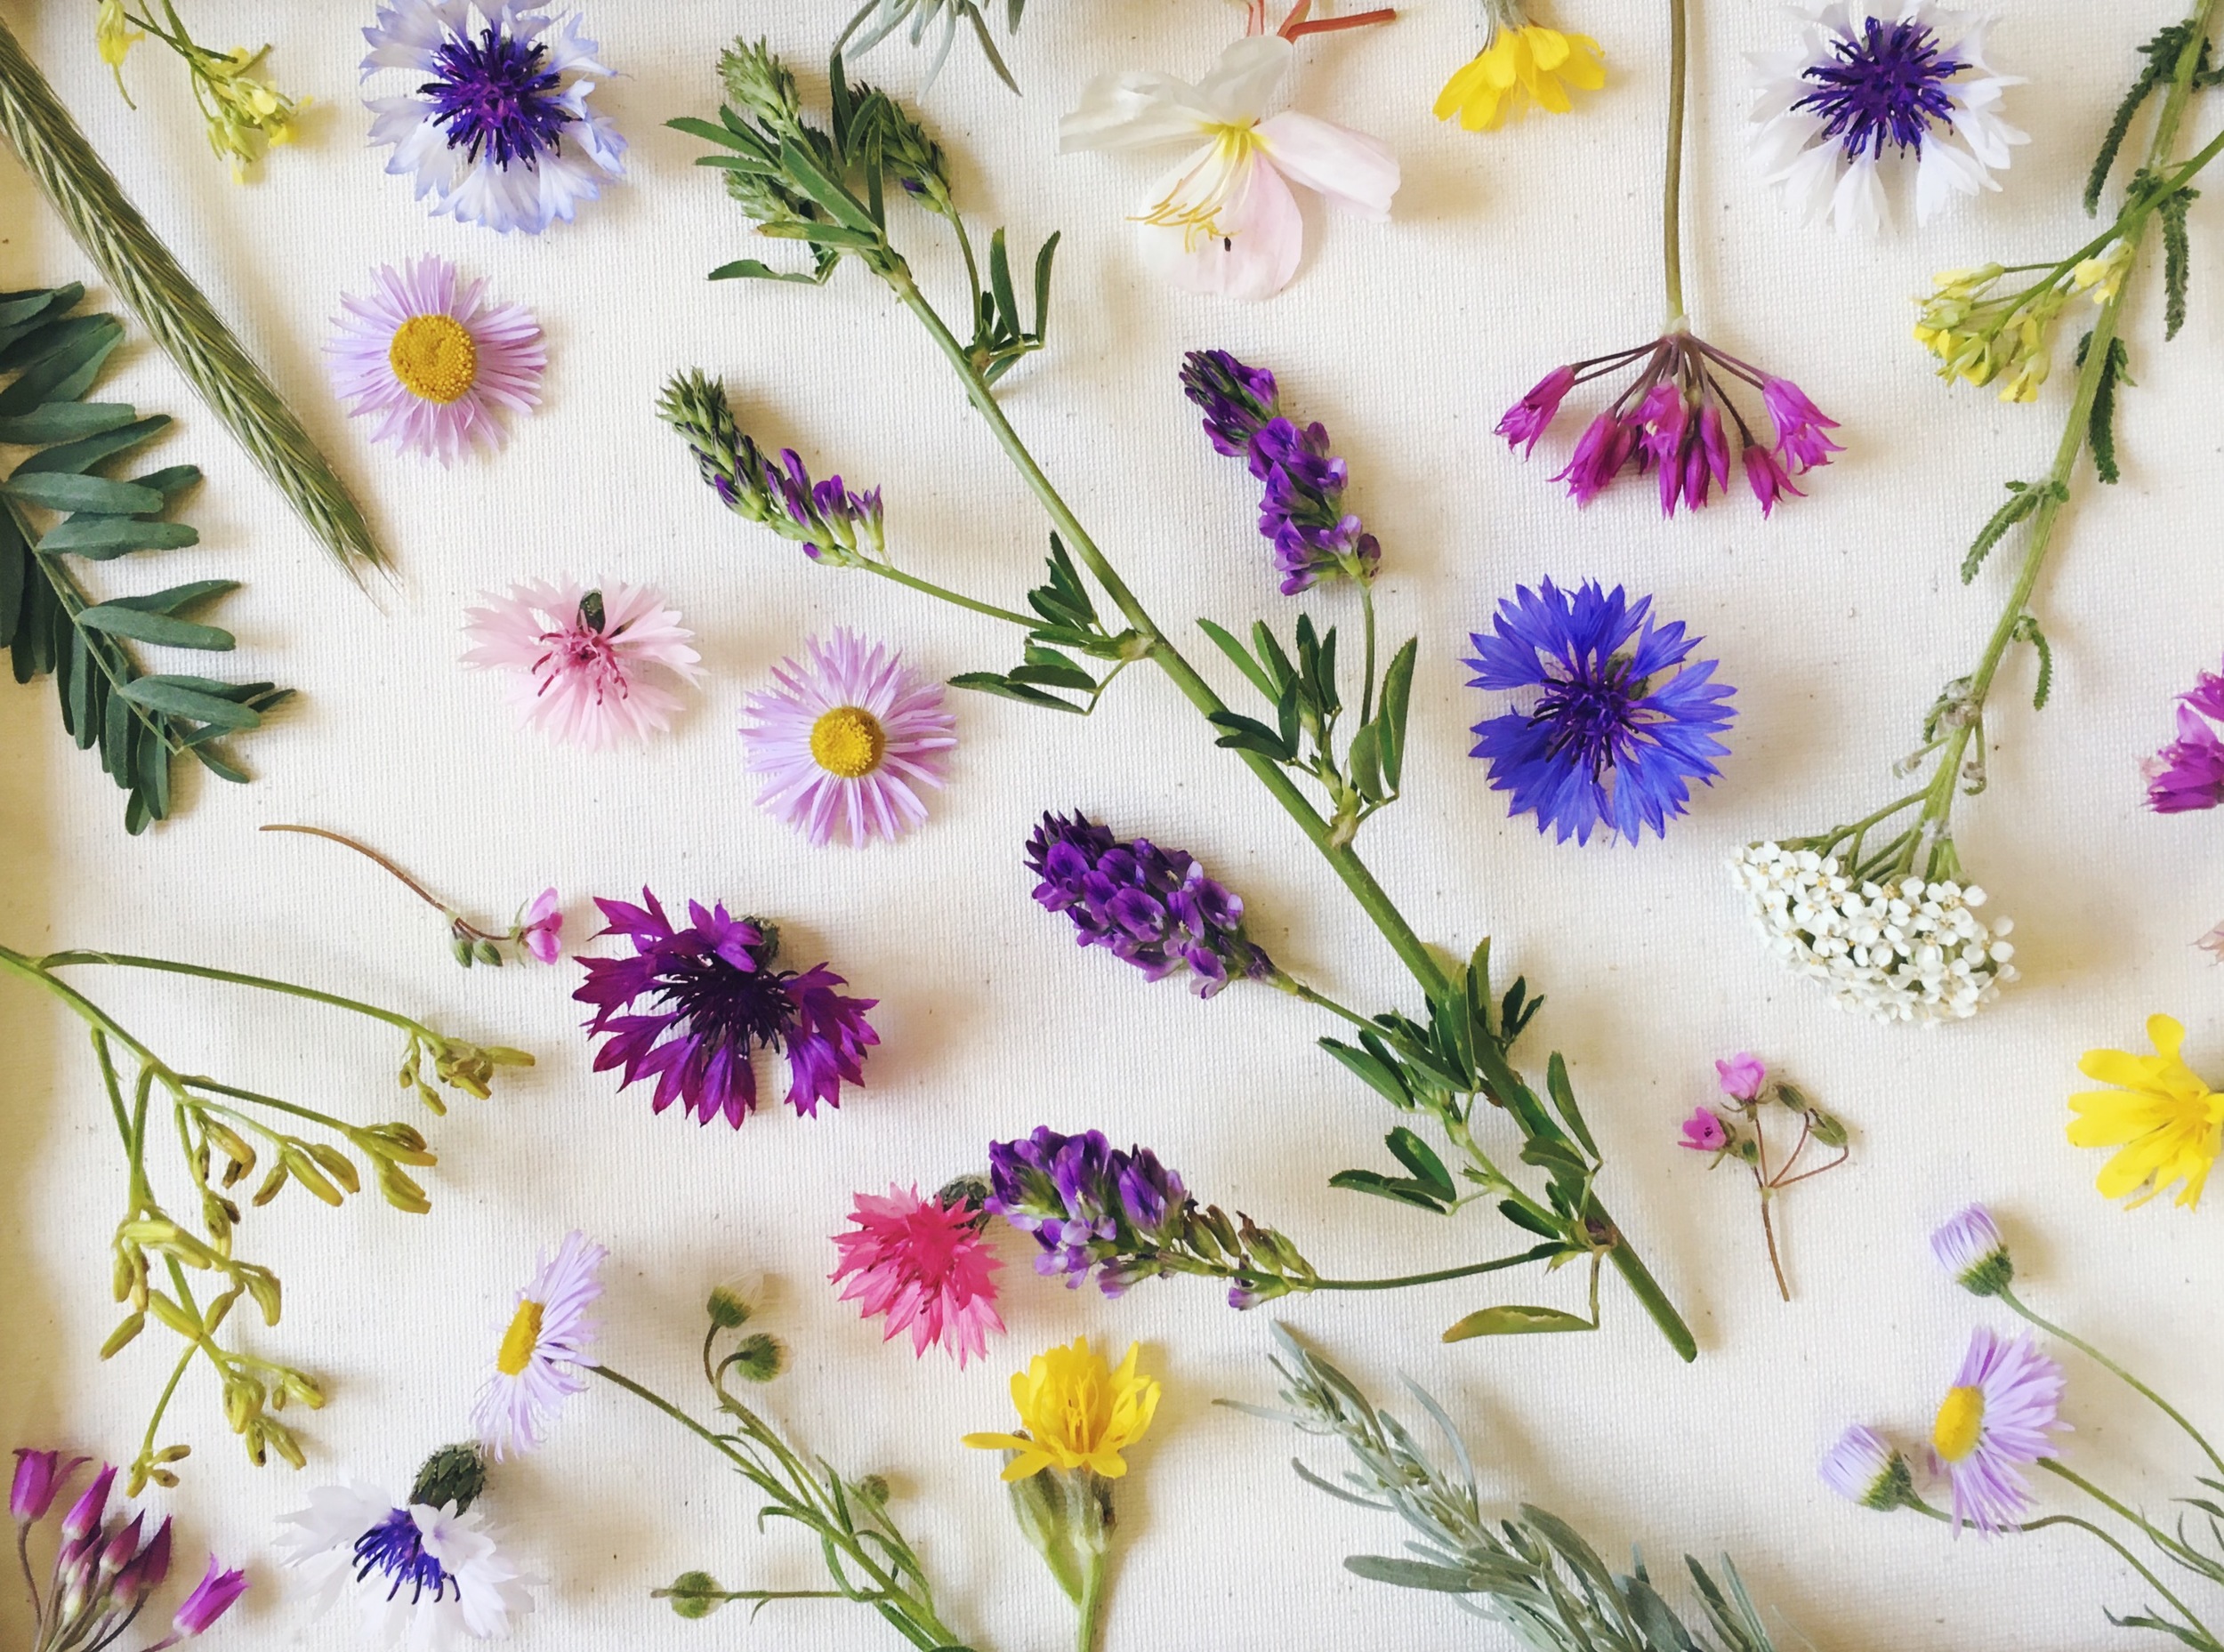
1. First things first, you're going to need some flowers! Pick up some fresh cut blooms from your local florist, or do like I did, and take a walk (with a pair of trimmers and a sack) to pick some local wildflowers. I always pick more than I intend to use, so I can press a few extra, incase a few don't turn out well.
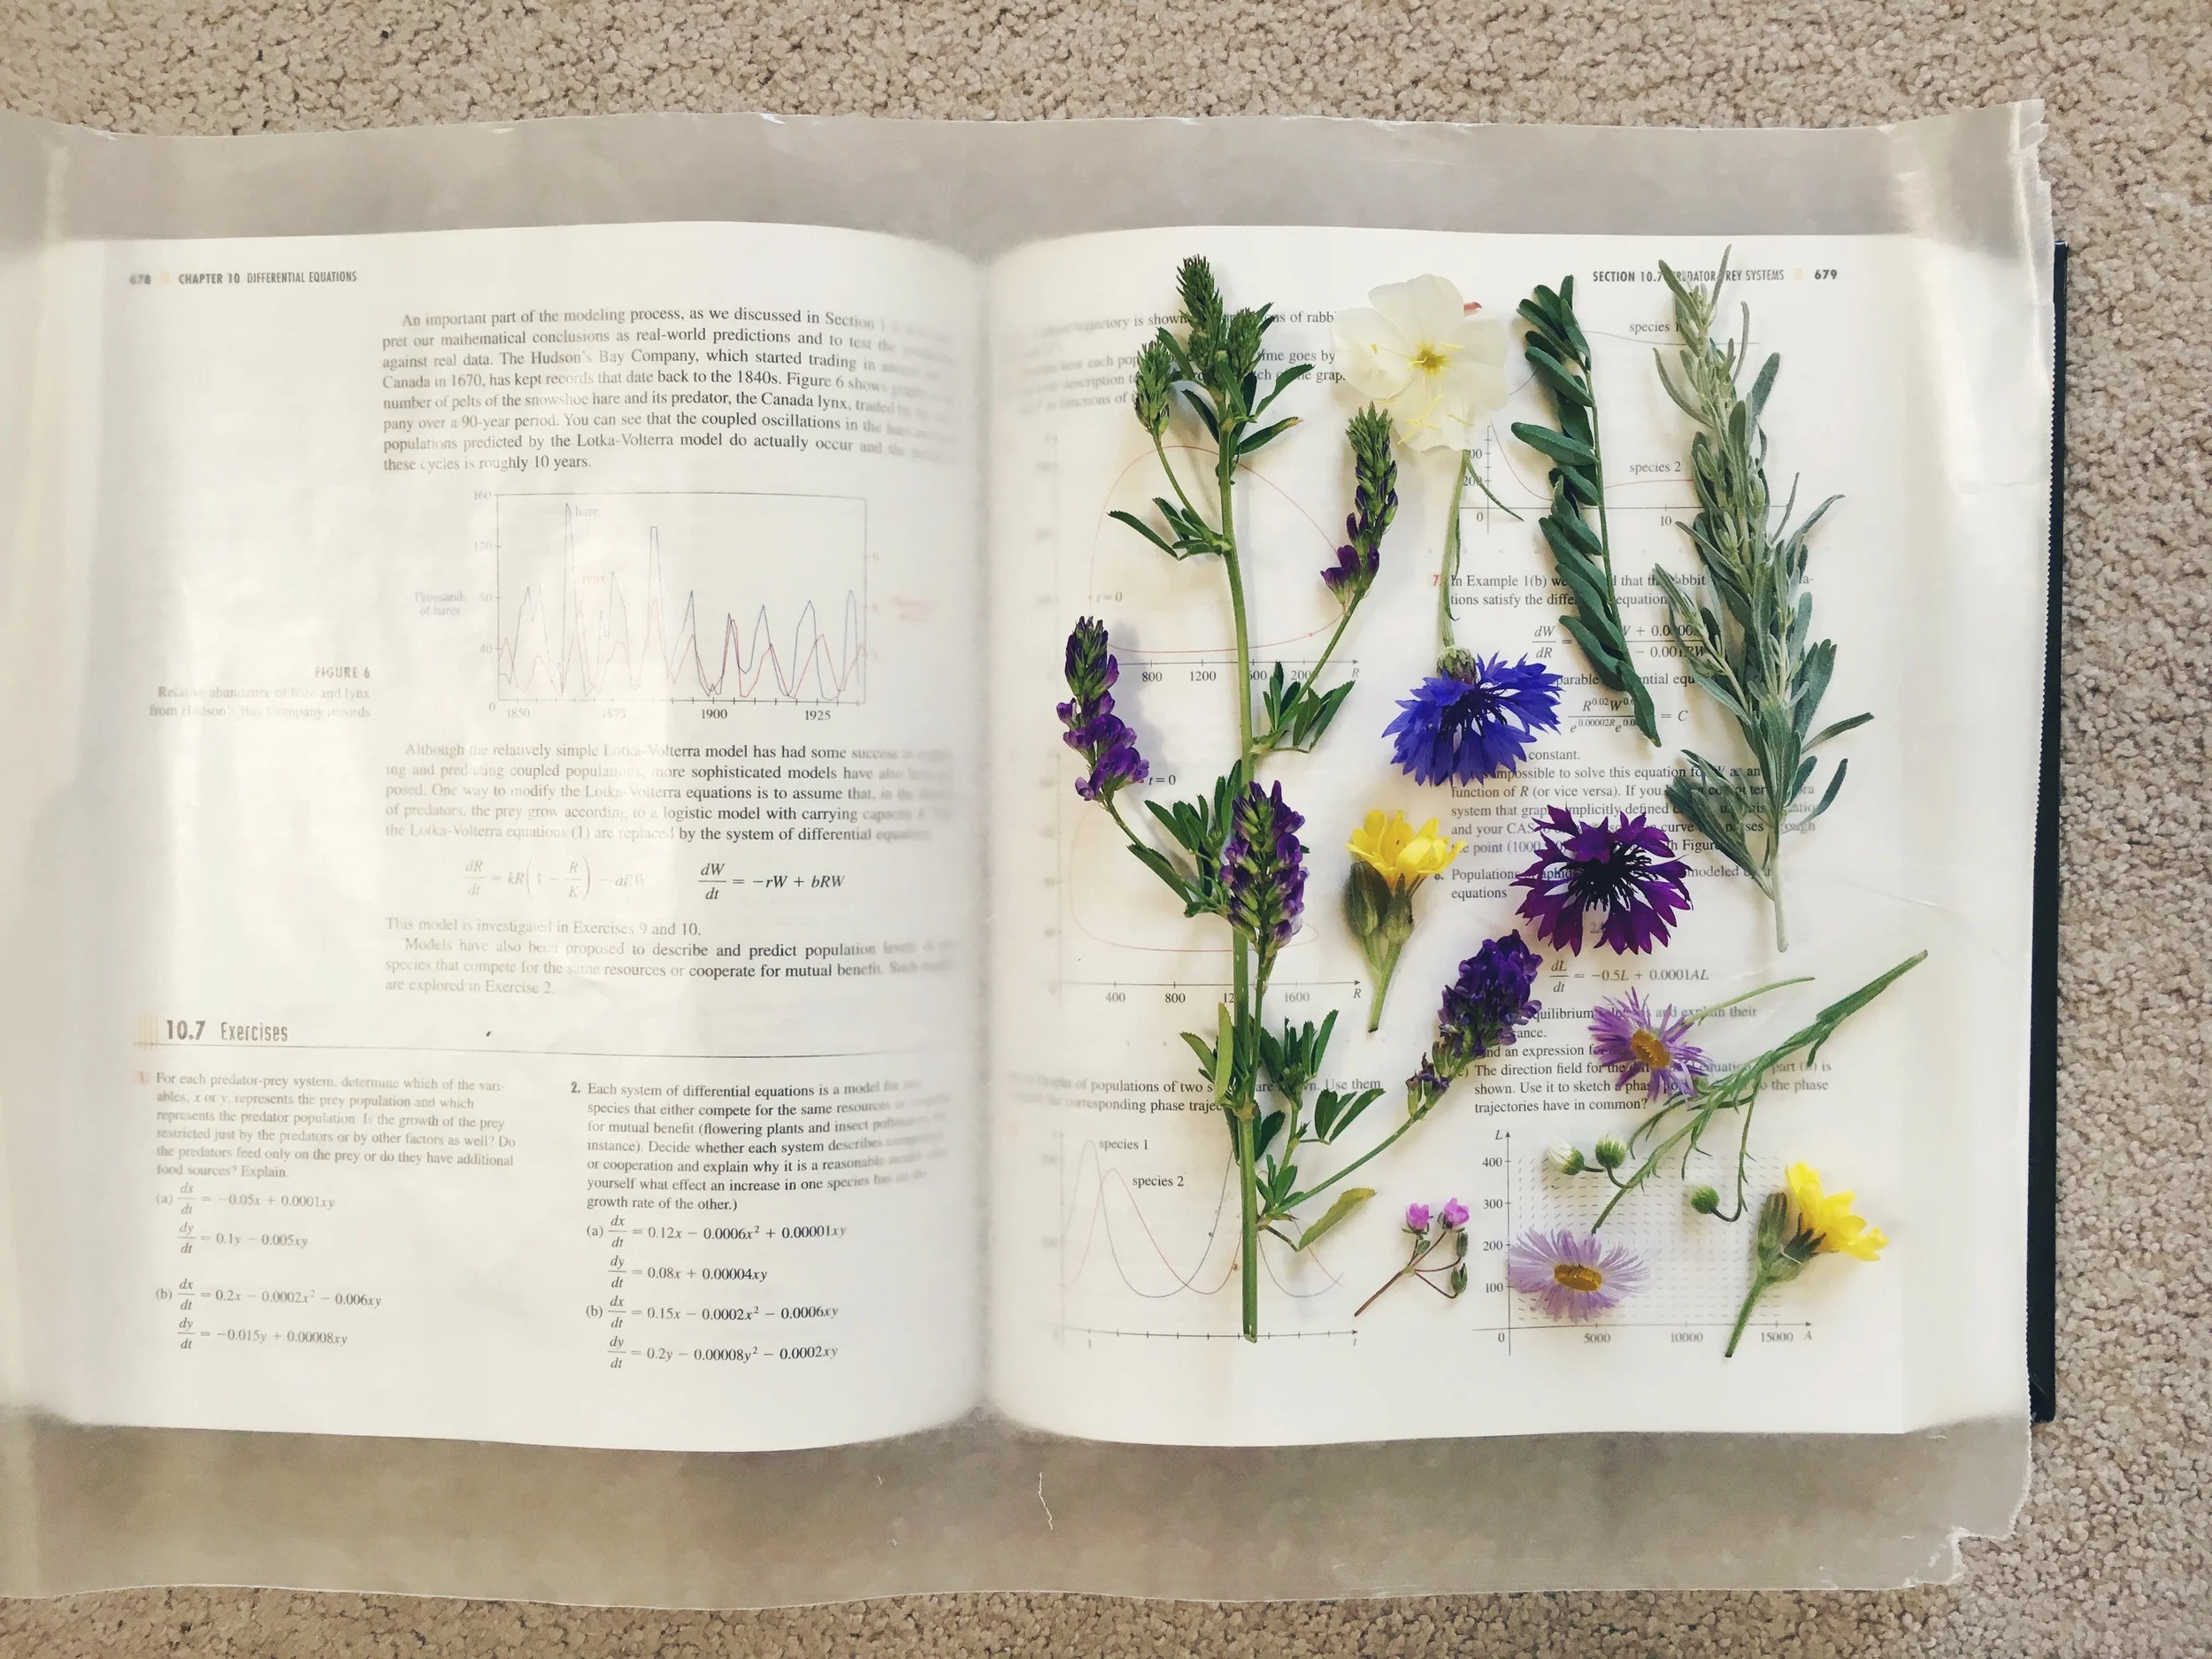
2. Gather up some heavy books. This is a great way to get some use out of those expensive textbooks from college that are collecting dust on your bookshelf ;) Open the books to a center page and line them with wax paper (mainly to protect the pages and for easy clean up).
3. Place the flowers you want to press on one side (give each one a little space) of the open book and close firmly. Stack more heavy books on top to make sure there is plenty of even pressure. I think I put at least 5 more text books on top of the book full of flowers. You want the flowers to be really pressed!
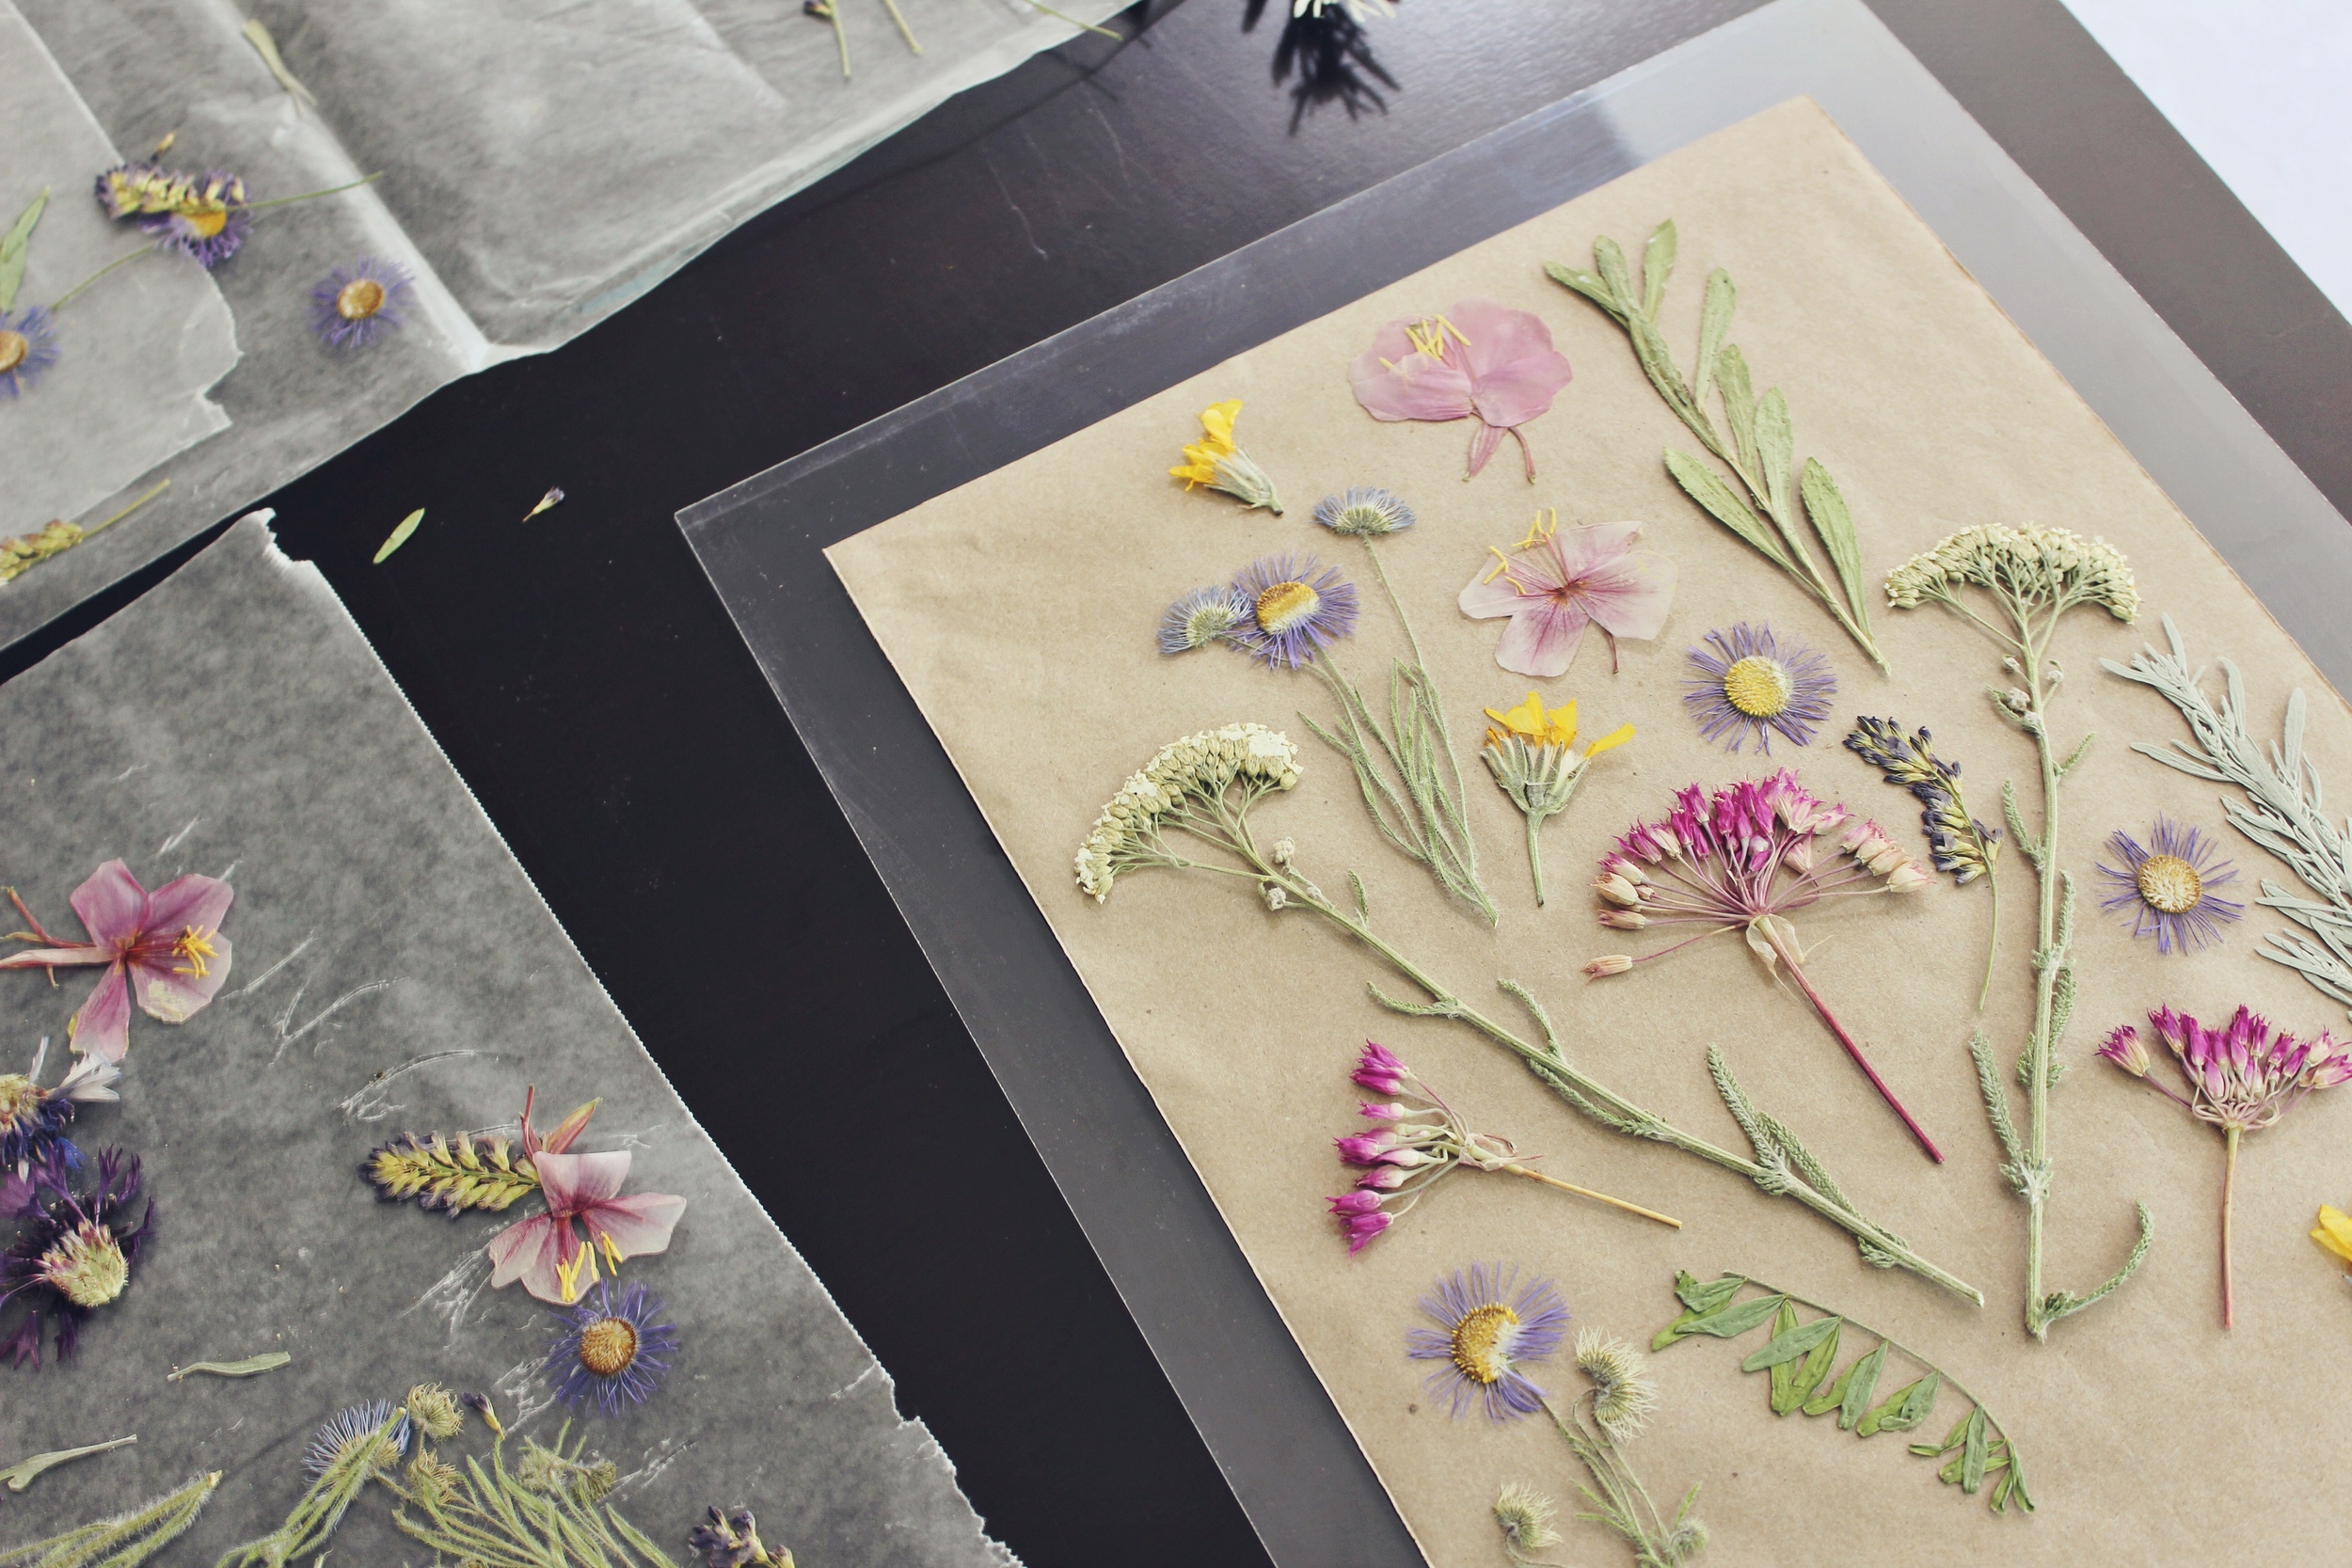
4. Store in a cool, dry place. Let the flowers press and dry for 10-14 days. Carefully reopen your books and remove the wax paper with the pressed flowers.
5. Take the back panel of your float frame, and if desired, tape down a piece of craft paper, about an inch smaller than the frame on all sides.
6. Arrange the flowers, as desired, until you are happy with their placement. Tweezers came in handy for me here, as it made it easier to handle the delicate petals and place each flower where I wanted without bumping the others I'd already placed.
7. Once happy with your arrangement, use a very small amount of hot glue on the back of each flower to secure it in place onto the craft paper. Carefully place the front panel of your float frame over your arrangement and put all sides together.


All that's left is finding the perfect place to display the finished art!
Happy crafting!
